
A good WordPress membership plugin with recurring membership and role assignment features is Paid Memberships Pro. It provides a flexible and comprehensive solution for managing memberships on your WordPress site, including the ability to create and manage recurring memberships, assign user roles based on membership level, and more. With its robust feature set and user-friendly interface, Paid Memberships Pro is a popular choice for many WordPress users looking to add a membership system to their site.
Can paid membership pro linked to existing WordPress roles?
Yes, Paid Memberships Pro can be linked to existing WordPress roles. In Paid Memberships Pro, you can assign memberships to existing WordPress user roles or create custom membership levels that can be assigned to specific roles. This allows you to control access to specific content and features based on the membership level of the user.
To link Paid Memberships Pro to existing WordPress roles, you can follow these steps:
- Install and activate Paid Memberships Pro on your WordPress site.
- Go to the WordPress dashboard and navigate to the “Memberships” section.
- Click on the “Membership Levels” tab to view the list of existing membership levels.
- Click on the “Edit” link for the membership level you want to link to an existing WordPress role.
- Scroll down to the “WordPress Role” section and select the role you want to assign to this membership level from the dropdown menu.
- Click the “Save Changes” button to save your changes.
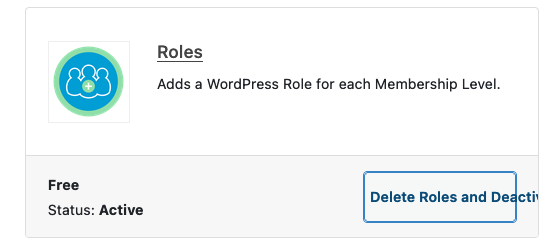
Note: If you want to create a custom membership level, you can do so by clicking the “Add New” button in the “Membership Levels” tab. Then follow the same steps to assign a role to the new membership level.
How to do set up the sign up page?
This actually took me a while to figure out.. First you will need is the addon for signup Shortcode:
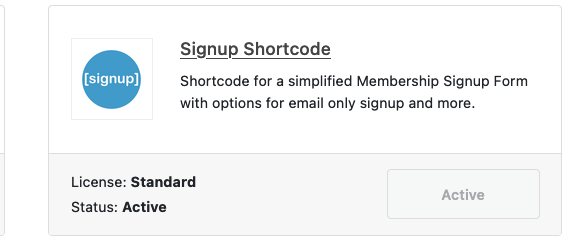
- Go to the WordPress dashboard and navigate to the “Pages” section.
- Click on the “Add New” button to create a new page.
- Give your sign up page a title, such as “Sign Up”.
- In the editor, insert the shortcode for the sign up form by clicking on the Paid Memberships Pro icon in the toolbar and selecting the “Sign Up Form” shortcode.
- Preview the page to make sure everything looks correct, and then publish the page.
- Go to the WordPress dashboard and navigate to the “Memberships” section.
- Click on the “Membership Levels” tab to view the list of existing membership levels.
- Click on the “Edit” link for the membership level you want to include in the sign up form.
- Scroll down to the “Signup Button Text” section and enter the text you want to display on the sign up button for this membership level.
- Repeat these steps for each membership level you want to include in the sign up form.
Once you have completed these steps, users can access the sign up page and select the membership level they want to sign up for. The sign up form will collect the necessary information and process the payment, if applicable.
How do I add a Profile Picture Field?
You will need the add-on Basic User Avatar.
To display the profile picture uploaded through Paid Memberships Pro in your theme, you can use the following code as a guide:
<?php
$user_id = get_current_user_id();
$user_profile_picture = get_user_meta( $user_id, 'profile_picture', true );
if ( !empty( $user_profile_picture ) ) {
  echo '<img src="' . $user_profile_picture . '" />';
}
?>
This code uses the get_current_user_id() function to retrieve the ID of the currently logged in user, and the get_user_meta() function to retrieve the URL of the user’s profile picture. The code then checks if the user has uploaded a profile picture, and if so, displays the picture using an <img> tag.
Note that you will need to replace “profile_picture” with the actual name of the profile picture field in Paid Memberships Pro. The field name can be found in the WordPress dashboard under the “Memberships” > “Membership Levels” section, in the “Checkout & Profile Fields” section for the membership level.
This is just an example, and you may need to modify the code to fit the specific needs of your site and theme. If you are not familiar with PHP, you may need to seek the assistance of a WordPress developer to implement this solution.
To add PHP code in an HTML page, you need to use a PHP tag to enclose the code. The PHP tag syntax is as follows:
php
<?php
  // PHP code goes here
?>
You can add the PHP code for displaying the profile picture in an HTML page as follows:
php
<html>
  <head>
    <title>My Page</title>
  </head>
  <body>
    <?php
      $user_id = get_current_user_id();
      $user_profile_picture = get_user_meta( $user_id, 'profile_picture', true );
      if ( !empty( $user_profile_picture ) ) {
        echo '<img src="' . $user_profile_picture . '" />';
      }
    ?>
  </body>
</html>
This code will display the user’s profile picture uploaded through Paid Memberships Pro in the body of the HTML page. Note that the code must be placed within a PHP-enabled environment, such as a WordPress site or a PHP-enabled web server.
If you are unfamiliar with PHP or HTML, you may need to seek the assistance of a web developer to implement this solution.